Store bought costumes are great but there’s a special place for those handmade! For the last 6 years I’ve sewn, painted, knotted, hot glued and crafted up costumes for my kids and I plan to create DIY Halloween costumes as long as they allow! Follow the step by step process on how I create 2 cute and comfy DIY mermaid Halloween costumes that are easy to walk in but still super cute to wear!

DISCLOSURE: I am part of the DecoArt Blogger Program and was provided product samples. In addition, this post may contain affiliate links that come at no cost to you. Know that I only promote products I personally use and stand behind. To learn more about my affiliates, please review my disclosure policy.
When asking the girls to help brainstorm DIY Halloween costumes with me, they both seemed super excited about MERMAIDS! It’s no surprise as Hailey has been pretty into mermaids for a while (maybe it started with the under the sea nursery I made for her) but I was fully on board to this idea!

As in years past, I like to make the girls costumes which are fun to wear but also functional and comfortable, something I would appreciate if I were a kid! These DIY mermaid Halloween costumes are based on simple cotton pant and shirts that include DIY elements including paint, tulle and iron on vinyl!

Supplies:
- Cotton pants
- Cotton shirt
- Cricut Explore Air 2
- Glitter Iron on Vinyl
- Deco Art So Soft Fabric Paint
- Elastic
- Tulle
- Scissors – these are my favorite for cutting felt!
- Shell template (SVG – LINK)

First, I laid the pants down flat and inserted scrap cardboard inside. I used chalk to draw lines so i could try to keep the scales straight.

Next I painted mermaid scales using fabric paint. We previously used this Deco Art So Soft brand when making their DIY summer t-shirts and I loved the result of a bright color that was soft to wear so it was a no brainer to use it again.
After completely covering one side and allowing it to dry, the next day I flipped them and painted the other sides. I did this all by freehand, using the chalked lines to help with spacing. They aren’t perfect but from afar, you can’t tell there are any mistakes, right? (Right?)

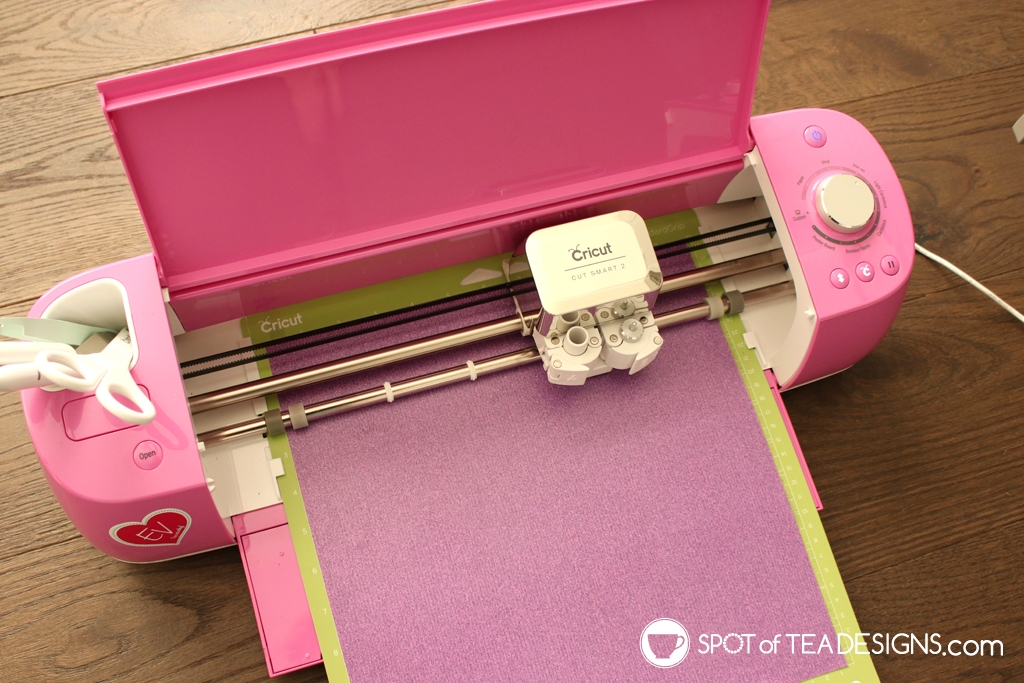
The top was easy! I cut my shell shapes using my Cricut and glitter iron on and this complicated design was cut in no time flat! (You can grab the free SVG file here!) I had the girls wear the shirts so I could figure out the placement but honestly they were still eyeballed a bit, which really is just a testament to my crafting style. haha

My large Easy Press 2 made it quick to add the shells on each shirt, literally in under a minute, but you can always do this with the iron too.

To create the faux fins, I turned to my favorite DIY tutu method using elastic and tulle. I previously used this idea for Brielle’s first Christmas photo shoot and their pig costumes a few years earlier so I knew it would be a success!

I cut and sewed together elastic to fit around each of their legs but you can easily just pin this together to make this a no sew costume! I cut different length pieces of tulle, folded them in half and pulled the ends through the loop to attach it. I did longer pieces on one side of the elastic and shorter on the other side.

Each leg got one of these mini tutus and, when worn, and their legs were put together, it made it look like a fin bottom.

To complete the custom, I was able to order colorful wigs from my friends at Wholesale Halloween Costumes and created two DIY starfish hair clips.

The girls are super excited to wear these on Halloween night, the school Halloween parade or any other Halloween activities that will come up from now until then.

I’m excited as I know these will be comfortable for them since they are simply cotton shirts and pants!

Make sure to follow me on Instagram to see more in my stories of the upcoming Halloween festivities!
Check out their DIY handmade Halloween costumes from other years:


Leave a Reply