When moving, it’s often hard to retro fit your furniture and belongings from an old house in a new space. Sometimes if the structure and size of a piece fits but the color doesn’t, break out your paintbrush and give it makeover! That’s exactly what happened with this entryway table makeover that went from browns to whites to fit in a new space!

This is the third of a few posts that have featured the entryway of our home as it was one place we focused on heavily during this spring quarantine. PS I apologize in advance for the picture loaded post!

I’ve previously shared our stair makeover which went from 1990s fabulous to modern and calming.

I also shared the step by step images on this mirror makeover that really brightens up the space as it reflects the light from the large windows across the way.

Today’s post is all about this little Pier 1 enryway table that’s probably about 10 years old. And while I loved the size and style, the color no longer worked with our new flooring.

To start the process, I first sanded it down just enough to get rid of the glossy shine on top to the paint would stick.

After a ran over it with the vacuum, I then used a tack cloth, which is pretty sticky and helps to pick up any dust and debris in the little cracks. This was a 3 pack that I was able to use on this table and the entryway mirror!
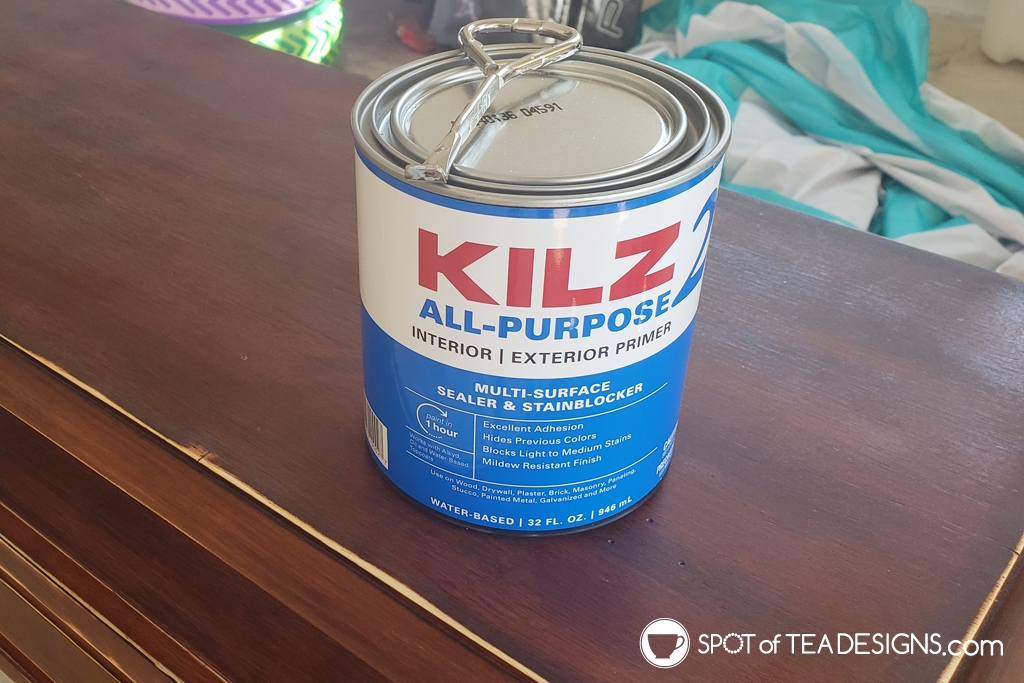

Since this was such a dark wood, I used Kilz multi-surface sealer and stainblocker as a base coat before priming.

Next came two coats of Rust-Oleum Painter’s Touch Semi Gloss paint which I applied with my Purdy brush. Derek is OBSESSIVE over his brushes and how to clean and store them and he keeps them back in their original package after they’re fully clean and dry.

Unfortunately here’s a step where I made a booboo that I’m not happy about. learned my lesson when finished the mirror I already shared but this table fell victim to my mistake. Instead of using clear Minwax Polycrylic that I used for Brielle’s bedroom set years ago, I finished with 2 coats of Minwax Polyurethane. The Polyurethane tends to leave a light yellow tinting on white furniture whereas the polycrylic is truly CLEAR! If I get the strength, I will be redoing this table yet again with the poly coat on top, so please learn from my mistake!


To complete the makeover, I applied a blue patterned contact paper inside the drawer for a little pop of fun for anyone opening the drawers! Right now we store all our extra batteries in this space as it’s a pretty central location in our home.


Look how pretty she is, especially when holding out little keepsake memories, like a Gone with the Wind book (I’m named after it!) and my Stitch People family portrait!

Despite the slight yellow tint (that maybe I, as the creator, can notice, and not you as a visitor) I’m SUPER happy on how this makeover came out, especially when paired with the mirror I also painted to match.

The rest of this space got a small upgrade as well. We swapped out the ceiling light for a new modern style and added a piece of framed art at the bottom of the stairs. This is the Gessato White frame from Custom Picture Frames with a piece of art I designed custom framed inside.

Ben Folds “The Luckiest” was the song Derek and I danced to at our wedding and the lyrics have a new meaning since that day years ago. Custom Picture Frames will soon offer custom printing of your uploaded art to pair with your custom fit frame to make it an all inclusive package shipped right to your door! I was able to take a preview of this service and cannot recommend it enough!
I’m happy to report they have offered a discount code for my readers! Use code SPOTOFTEADESIGNS20 for 20% off your order at Custom Picture Frames!

I consider phase one of this space now complete!

And now because we all love a good before and after, I’m sharing this great side by side shot of this space now and 2 years ago.

Phase 2 of the entryway projects include: eventually swapping out the front double doors for a single door with sidelights, creating a wood accent wall on the wall behind the mini table, and doing something about that doorbell box above the mirror.
Related Posts:


Leave a Reply