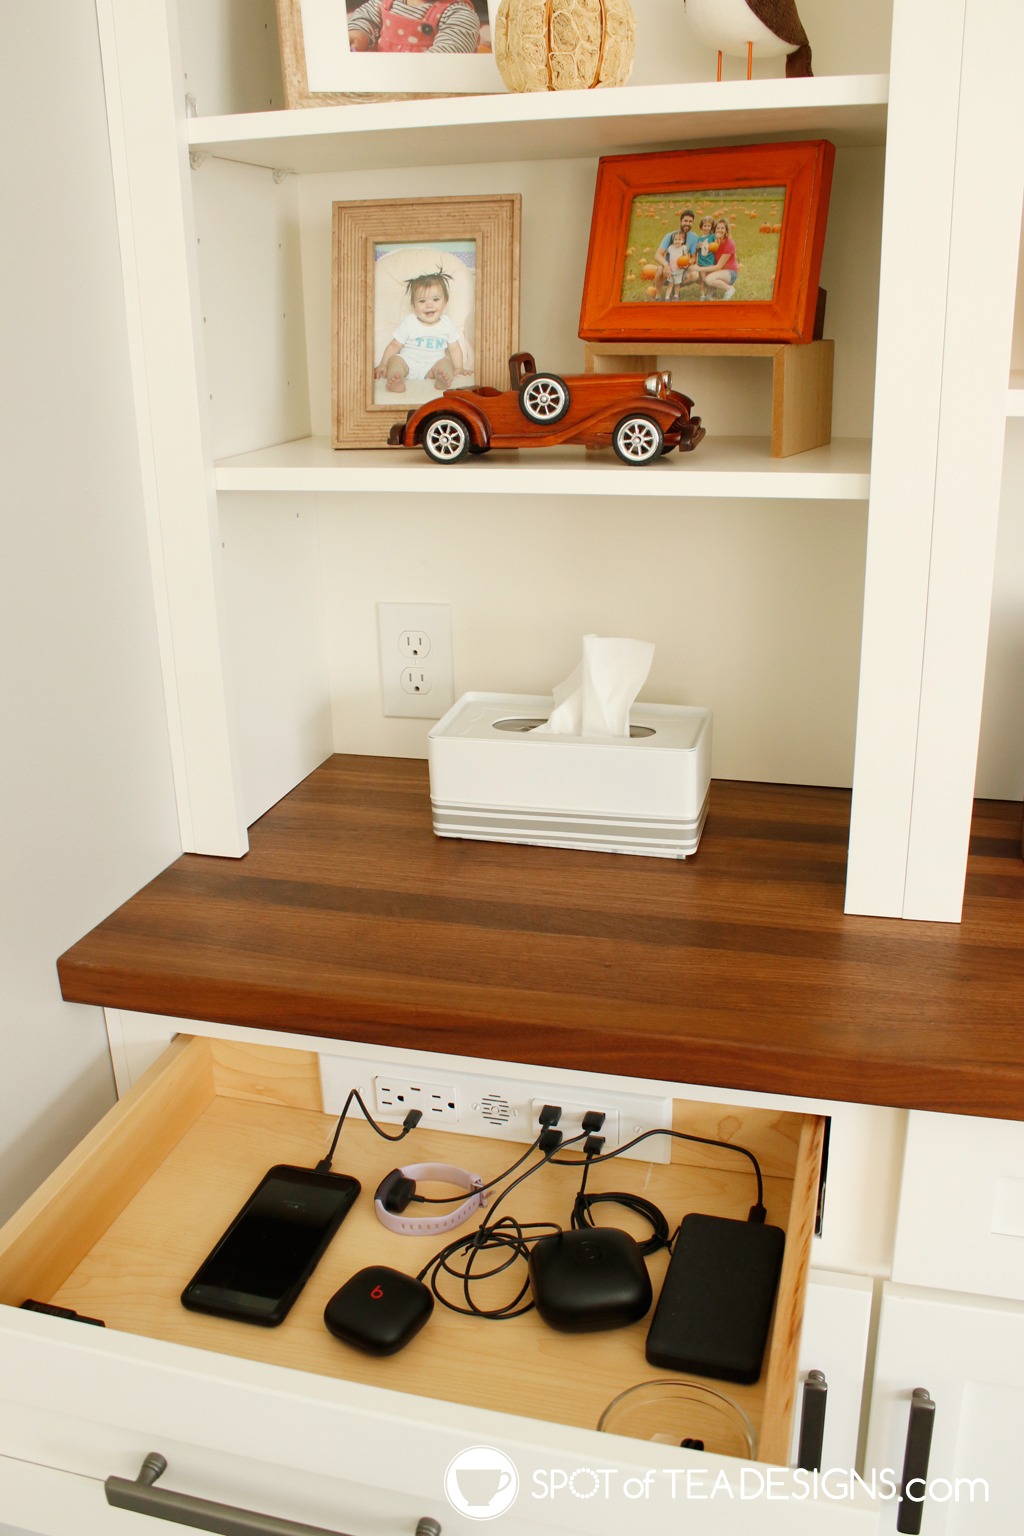
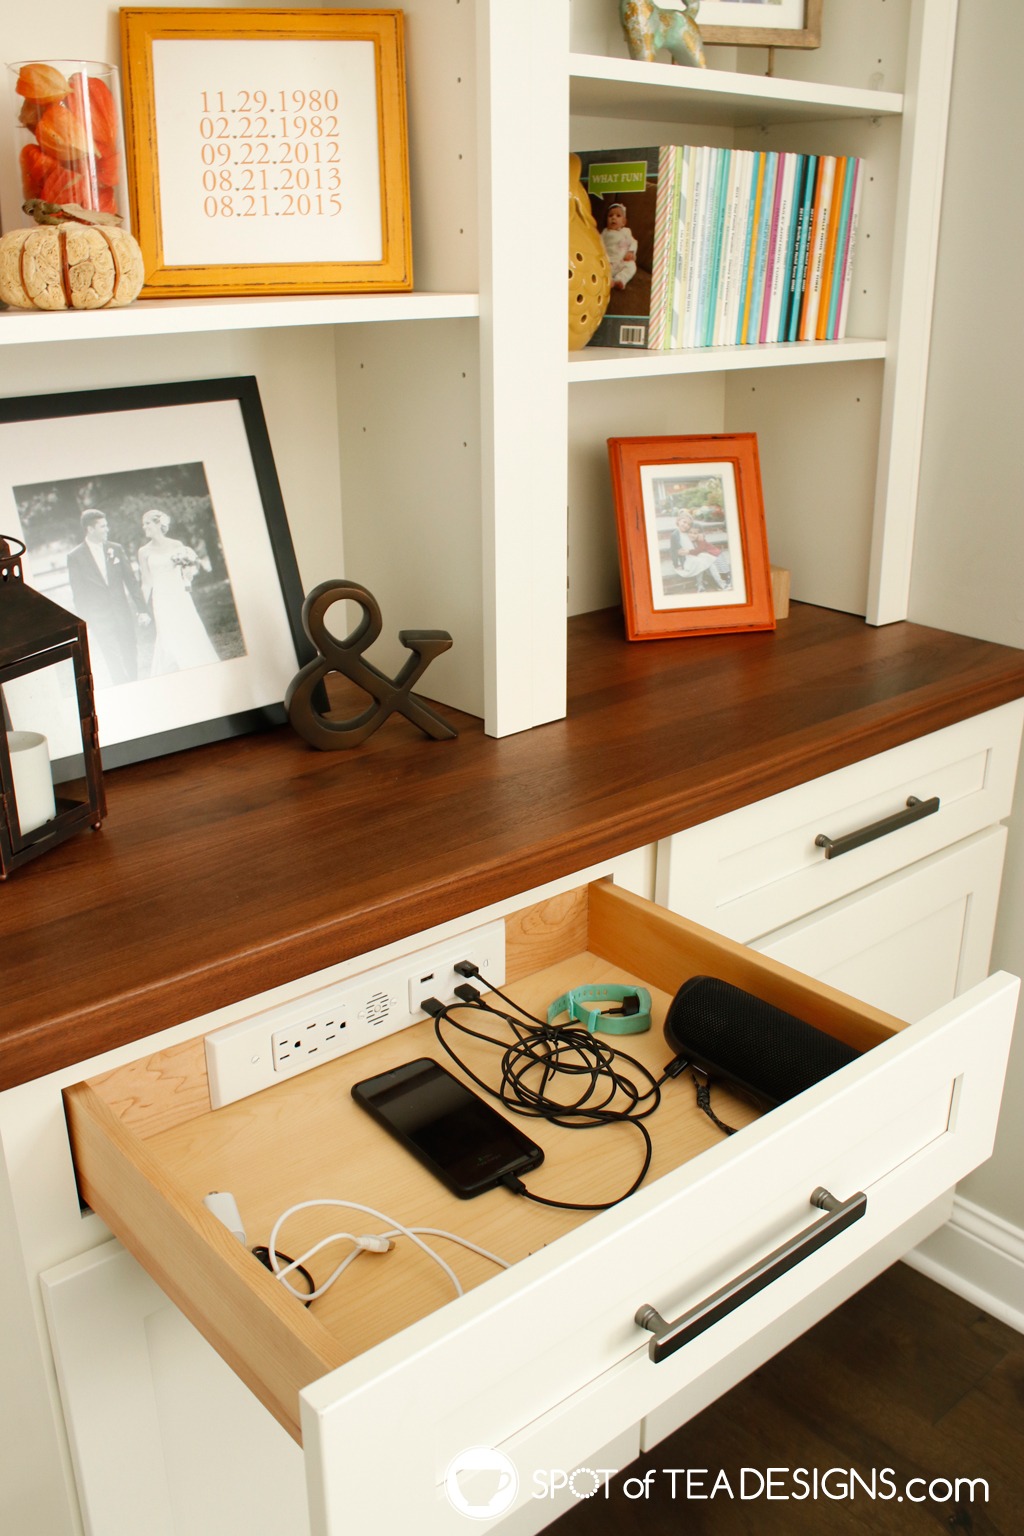
Learn how to upgrade your home and remove desktop clutter by installing a Docking Drawer Blade Duo and creating a charging station in a drawer.

DISCLOSURE: I was provided product samples from Docking Drawer but the opinions shared are all mine! In addition, some of the links in this post contain affiliate links, which come at no cost to you. Know that I only promote products I personally use and stand behind. To learn more about my affiliates, please review my disclosure policy.
We’ve been in our home for over 5 years now and we’re always improving our space to accommodate how our family uses it. As a reminder, here’s what our living room looked like this when we first moved in:

Last summer we completed a kitchen and living room remodel, which included the addition of built in cabinets on our once empty fireplace wall.


We did think ahead and add extra outlets inside the lower cabinets and on top of the wood top, but the majority of the time these areas look less Instagram friendly and look like this:

Yep, lots of tabletop clutter with all the electronic chargers plugged in on both sides.

To reduce this clutter and get our countertops back, I am happy to announce this partnership with Docking Drawer and the installation of their Blade Duo Outlet to create a charging station inside the drawer! Docking Drawer is the market leader of in-drawer electrical outlets, which was simple (for my handy husband) to install in our drawer in under 30 minutes.

The Docking Drawer Blade Duo comes with detailed instructions and a template, but you’ll also need a jigsaw, drill with a 1/2″ drill bit, measuring tape, screwdriver, square, and pencil. We also used painter’s tape and a level.

First, remove your drawer, separate the cutout template from the instructions, and tape it onto your drawer in the correct location. Note: Put it up slightly higher than you think to allow for the cover plate that you add later. We luckily, caught this allowance without any issues.


Use your 1/2″ drill bit to drill a hole in each corner of the drawer on the template.


Insert a jigsaw into one of the holes and follow the template to cut out the rectangular shaped hole.

Slide the Docking Drawer receptacle box through the cutout and secure with the 4 included screws.

Reinstall the drawer and screw the rear mounting bracket onto the back wall of the cabinet with the provided screws.

Install the cover plate using the provided screws. We chose white, but they also offer black and stainless steel cover plates.

Connect the Docking Drawer power cord to the in cabinet electric supply and be proud of the hidden charging station you created! See the install in action on my instagram reel!

Docking Drawer offers many outlet configuration variations of their Blade Duo In Drawer Outlets with a mix of AC, USB-A and USB-C outlets. After measuring our drawers, we determined the their 15 amp Blade Duo with 2 AC, 2 USB-C and 4 USB-A outlets would be the perfect setup for our electronic charging needs. In fact, we liked this system so much, we ordered two!
Related Posts


Leave a Reply