This summer I gave into the stitch people cross stitch trend and worked up my cross stitch family portrait for our living room. I soon became addicted and started making some holiday gifts for family and friends. Here are two such cross stitch portrait gifts that I turned into cute hoop ornaments for the holidays!

DISCLOSURE: Some of the links in this post contain affiliate links, which come at no cost to you. Know that I only promote products I personally use and stand behind. To learn more about my affiliates, please review my disclosure policy here.
The first hoop ornament was for my good friend, awesome cookie designer, and previous guest poster, Cherylin.

In October she got married to her long time boyfriend, Matt and held a wedding full of beautiful DIY touches. To celebrate this milestone, I created a little version of the married couple in cross stitch form.

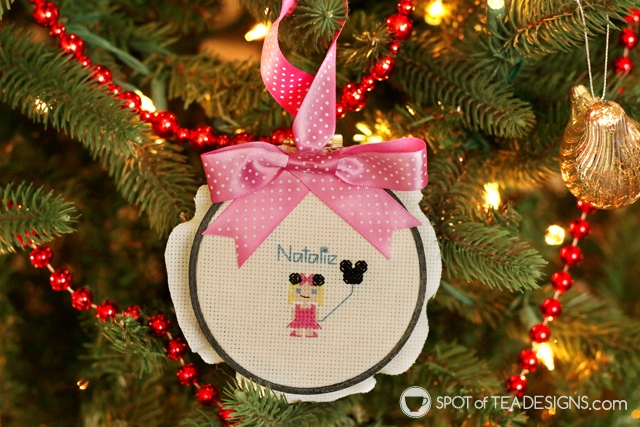
The second cross stitch ornament was for my niece Brinley. She is just three weeks older than the Brielle, but as I mentioned before, cannot be more different in personality! I love her to pieces and know that there a few things she adores – the color purple, dresses, her dog Joey and Disney! I created a little custom portrait of these loves in her mini hoop ornament.
Here’s how I turned these cross stitch designs into hoop ornaments.

To create the actual cross stitch portrait I referenced the book Do-It-yourself Stitch People by Elizabeth Dabczynski-Bean. It’s a great resource for different clothing, hair styles, pets and even accessories, and as you can see, I made use of all these options in these two ornaments! She also sends emails with updates to new designs she’s added or other product options available so stay on the mailing list if you make the purchase!

Supplies:
- Hot Glue Gun (also highly recommend these when working with hot glue!)
- Water Erase Pen
- 4″ Hoop
- Felt
- Scissors (these are my favorite for cutting felt!)
- Ribbon

First I took apart a 4” hoop and wrapped the outer ring with ribbon.

To start I added a dab of hot glue and wrapped the ribbon around, adding dabs of glue along the way.

Next I traced the inner hoop on felt with my pen and cut out the shape. This would be used on the back in later step.

Next, insert the cross stitch design in the hoop and trim so there’s about a 1/2″ of fabric all the way around.

This next step is where these guys come in handy! They are little silicon fingertips that help when working with hot glue to not burn your fingers. LIFE CHANGER people! Add to your carts and throw in a crafter’s stocking ASAP. I used them when adding hot glue on the inside of the inner hoop and folding over the fabric.

When you hot glue the fabric all the way around it will look like this.

Finally I covered the ugly hoop guts with the felt circle I cut out earlier and voila, it’s done!

I’m sure Cherylin will get lots of “first year married” ornaments for the holidays but I hope it’s her first cross stitched one!
UPDATE:
I also made a little cross stitch type ornament the following year for my other sister, Brinley’s sister


Leave a Reply