This shop has been compensated by Collective Bias, Inc. and its advertiser. All opinions are mine alone. #OreoCookieBalls #CollectiveBias

I’m SUPER excited for today’s post for three totally different reasons.
- OREO cookies are used. You already know about our family’s love of OREO cookies! Do I really need more reasons to be excited?
- Since Brielle born, I have totally been into the whole “creating cute food” concept, especially when it comes to special dessert treats.
- After owning it for 3.5 years now as a gift from my bridal shower, I was FINALLY able to use my blender! I know that might seem weird to some (and really I am happy to have received it) we just never got around to make those fancy drinks I planned to make with it. Maybe because I became pregnant shortly after our honeymoon! :)

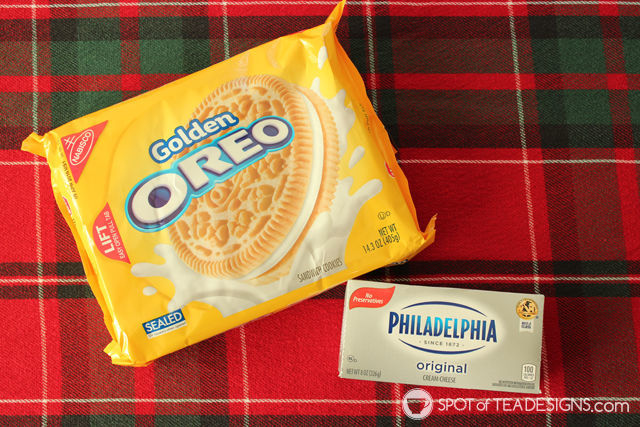
I haven’t made many “no bake” desserts before so I was TOTALLY into this concept when making these delicious and adorable OREO Cookie Balls. First, I needed to grab the supplies so I went to my local Walmart.

I decided to go with Golden OREO Cookies and followed the official OREO Cookie Ball Recipe. (I didn’t know there was an “official” one either, but look, there is!)
Ingredients:
- 1 pkg (8 oz.) brick cream cheese, softened
- 36 OREO Cookies, finely crushed (about 3 cups)
- 4 pkg. (4 oz. each) semi-sweet baking chocolate, melted
Make it!
- MIX cream cheese and cookie crumbs until blended.
- SHAPE into 48 (1-inch) balls. Freeze 10 min. Dip balls in melted chocolate; place in single layer in shallow waxed paper-lined pan.
- CUSTOMIZE it with your own ingredient additions or decorative skills.
- REFRIGERATE 1 hour or until firm.
Share and enjoy!

Everyone always does red and green for the holidays but I decided to switch it up and go with a red, white and gold color palette for my ornament OREO cookie balls. I brought in these colors with some optional ingredients of decorative sugars, colored chocolate chips, sprinkles, and gum drops.

First was that all exciting first use of my blender (after washing the parts of course)! Whirrrrrrr!!!! (Ps wish you could SMELL how glorious that mixture was!)

Then I mixed in the cream cheese. Tip: let it sit out for a few minutes to get a little softer before mixing in!

After a few minutes of mixing it turned into a dough texture which I then rolled into balls and placed on a parchment paper lined plate. Into the freezer they went!

Next was the fun part…decorating! Follow the directions on the chocolate package to melt it. I always use the microwave on defrost mode and mixing it every 30 seconds until melted. This stops it from burning! To get the full coverage I rolled the balls around in the melted chocolate and used two forks to scoop them out.

TADA! I know Brielle will think these look so cute! I LOVE how the white sugar looked like snow on the red chocolate. (And please ignore that one all the way on the right that ended up looking more like a fishing bobber than an ornament. But HEY if you need OREO Cookie Balls for a man’s retirement party or even Father’s Day, now you’re all set!)

After fully setting in the fridge, I packaged some up in kraft and red themed food boxes I had from years ago. I added my little touch with a gift tag I designed and these puppies were ready to be gifted. I made the gift tag into a free printable for your personal use! Get it by clicking here.

This was a pretty easy (and CUTE) dessert so I will be adding this recipe to my collection of things to make for upcoming holidays or occasions.
If you want more holiday inspiration of other OREO Cookie balls from fellow baking bloggers, go here!
And you love OREO as much as our family does, check out these other OREO recipes shared on my blog!


PLS SEND ME RECIPE FOR OREO BALLS==TY
Hey Delores. The recipe is in the post :)