DISCLOSURE: Some of the links in this post contain affiliate links, which come at no cost to you. Know that I only promote products I personally use and stand behind. To learn more about my affiliates, please review my disclosure policy here.
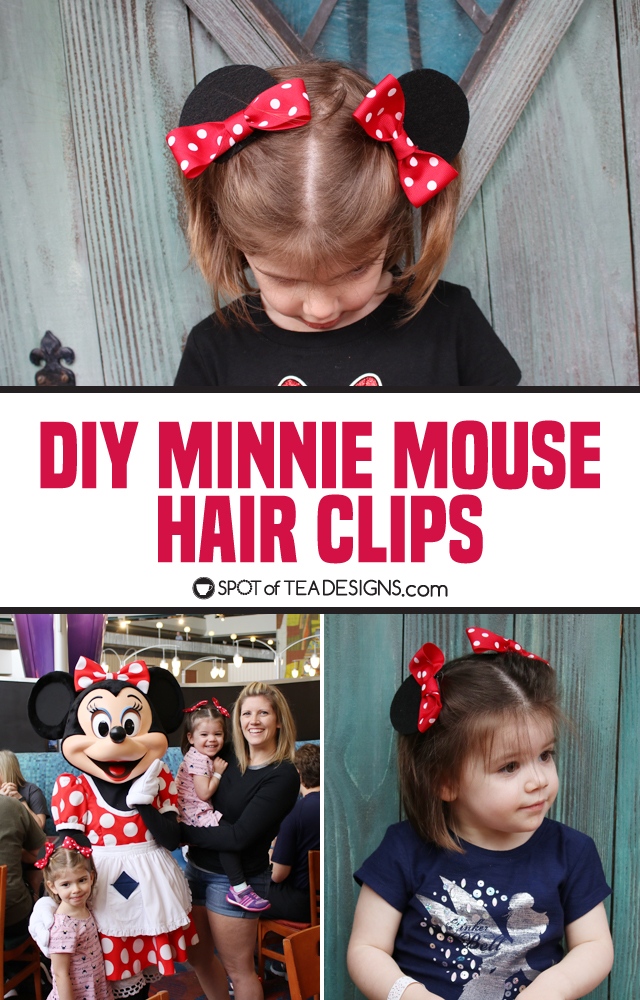
Do you have a little Disney fan in your house or planning a trip to Disney World soon? Consider making DIY Minnie Mouse Hair clips to show your love for the classic character! Clip these cute designs over a pair of pony tails and you will easily achieve the Minnie Mouse look!

I had gotten my girls both a Minnie Mouse headband as part of their Disney World reveal but I was concerned they wouldn’t be eager to wear them too long. Both the girls love pigtails so I went head and made little clips to wear and give them the Minnie Mouse look!

To make these Minnie Mouse Hair clips, you will need:
- Red and white polka dot ribbon
- Stiff black felt
- Cup (to trace)
- Fabric Scissors
- Silver clips
- Thread and needle

First, trace your cup to create two circles on the black felt. Cut a little bit of the bottom off to make a flat edge that will fit against their head as the bottom of the clip.
Sew a silver hair clip to the bottom of the felt shape along the flat area.

Cut a piece of ribbon and fold both ends toward the middle. Use your fingers to accordion fold the center slightly to create this look.

Sew to secure this shape.

Use another piece of ribbon folded in half and wrap around the center of the bow. Use thread to sew it together, doing your best to hide the stitches in the back.

Sew the finished bow onto the front of the felt shape, which has the silver clip sewed on the back.

To wear, use two small hair ties to create pony tails on the top of the head. Clip these clips over the pony tails to create the cute Minnie Mouse ear look! As predicted, the girls wore them most days of their trip vs the headbands and they got lots of compliments including an acknowledgement from Minnie herself!


Leave a Reply