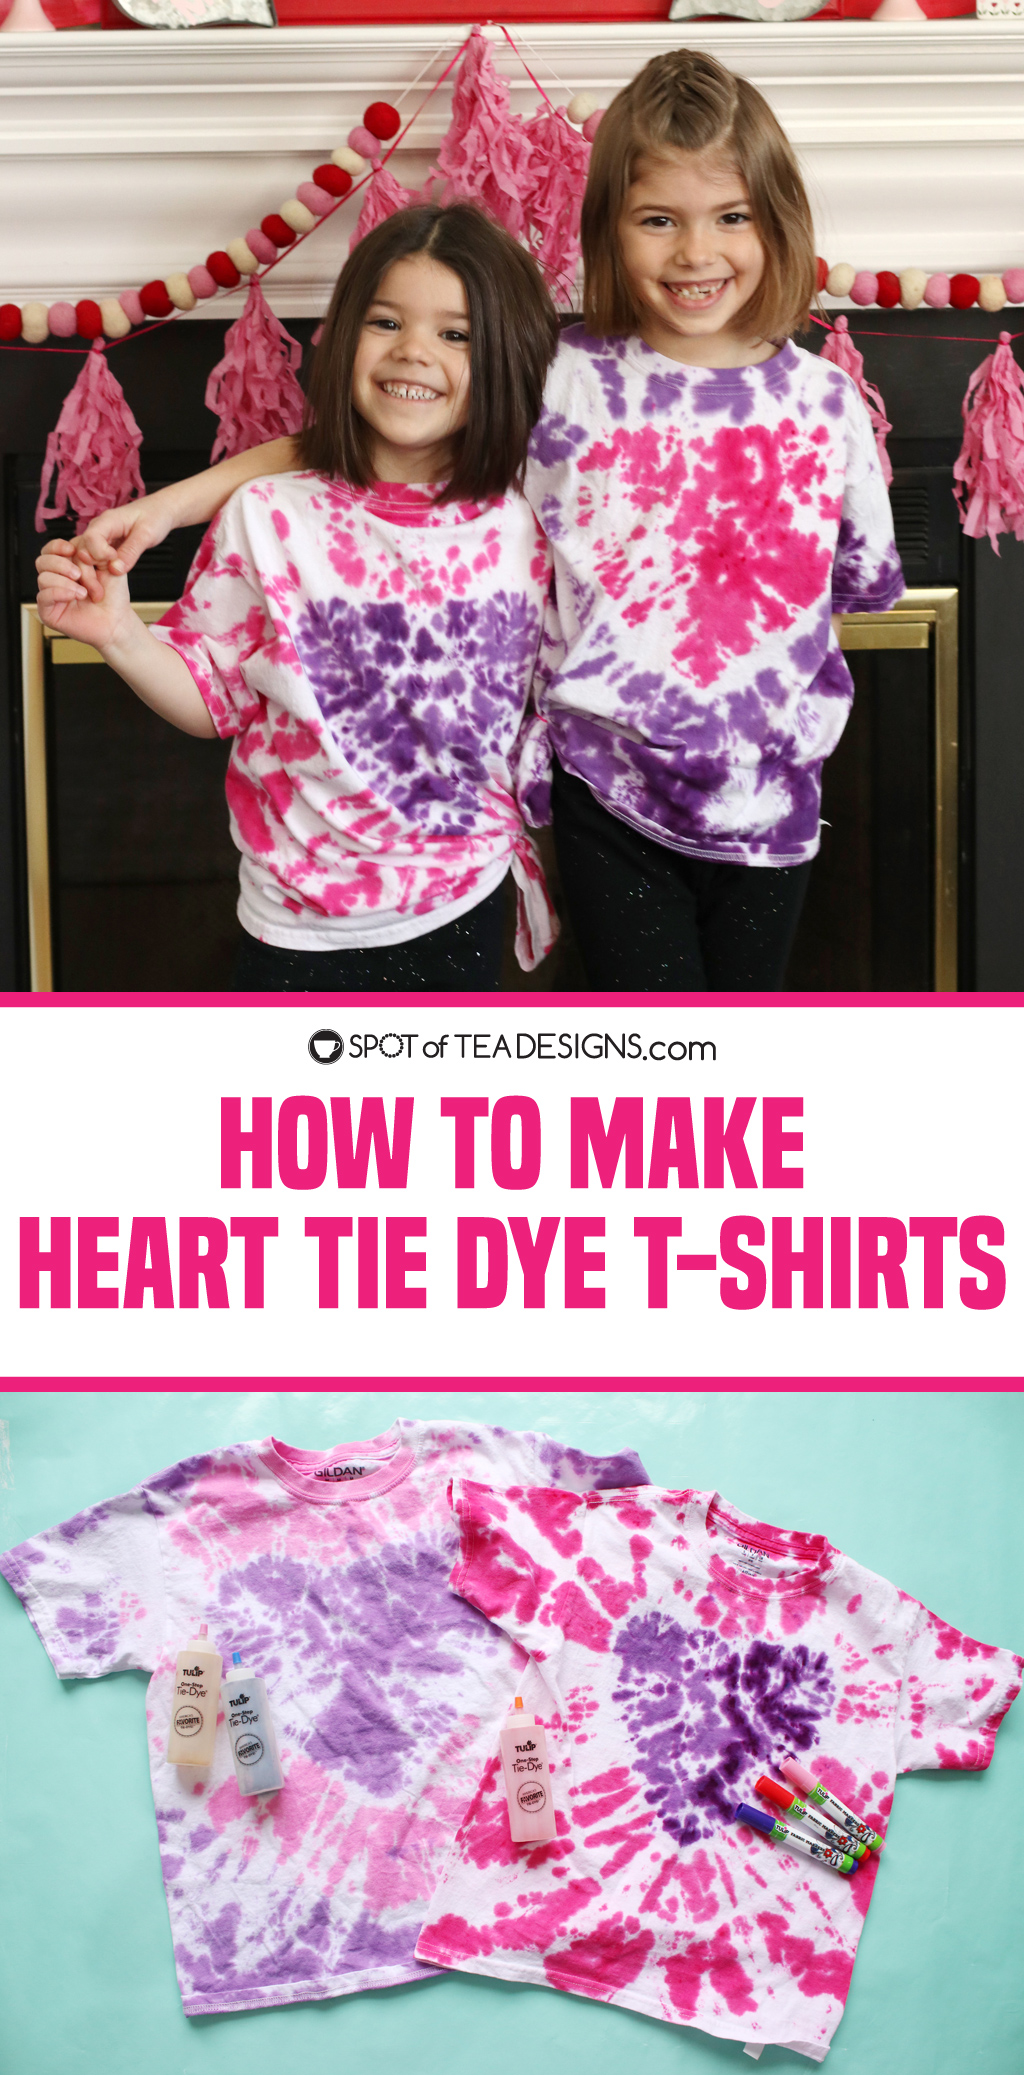
This Valentine’s Day try your hand at the ever trendy tie dye craft and learn how to create tie dye heart t-shirts in lots of colors! Find tips and tricks to use this all inclusive tie dye kit from Tulip to create bright or pastel matching mommy & me t-shirts with your little ones.

DISCLOSURE: Some of the links in this post contain affiliate links, which come at no cost to you. Know that I only promote products I personally use and stand behind. To learn more about my affiliates, please review my disclosure policy.
Those who have been following my blog for the last ten years know that I’ve tried my hand at LOTS of different craft types. Vinyl, cross stitch, sewing, paper crafts and costume making to name a few. But one thing I’ve never done was tie dye!

Honestly I’m not a super “messy” crafts kinda person (even glitter is used in some doses in my craft room) but when asked by Joann Stores if I wanted to give this Tulip Tie Dye kit that not only comes with all the dye already in the bottles and rubber bands, but also the protective materials like the plastic
tablecloth and plastic gloves, I was more inclined to give this trendy craft a try!

I even had some help to unbox my goodies from Joann!

Joann stores has the instructions to create this tie dye heart t-shirt design but I’ve also stepped it out for you to visually see how to create it at home.
- Wash your t-shirt, but don’t dry it. Fold it in half lengthwise and draw half a heart shape using a washable marker (not included in the kit).
- Begin at the top of the heart and start creating an accordion pleat to gather the shirt together to create the heart effect. While doing this, keep the marker line together so it’s forming a straight line.
- Continue arranging the shirt material as you continue the pleat folds for the full marker line.

4 . Use a rubber band on the marker line to secure these pleats together this now gives you a specific area to put your dye that is just on the heart shape. Add additional rubber band areas, as desired.
This Tulip kit includes all the dye already in bottles with no extra bottles. If you want to create the ombre look seen on the Joann’s post you’ll need another empty bottle to pour some of the dye out. I decided to use the dye bottles as is and let the girls pick what colors to make our shirts. They love pink and purple so that’s what we did! I protected my surface with the white plastic sheet included in the kit and donned my fancy plastic gloves.

Dye was poured over the rubber banded heart area in one color and different colors in the other rubber band areas. Then I flipped it over and applied the same colors in the same areas on the back. Any minor leaks that didn’t soak into my shirts was easily soaked up with paper towels from home.
I wrapped the dyed shirt in plastic wrap (not included in the kit) and put in a plastic bag to sit for 6-8 hours while the dye soaked in.

After soaking, remove the rubber bands with scissors and rinse THOROUGHLY in your laundry sink before washing with hot water and drying as its own load.
As you can see above I was able to add more water and continue to create more tie dye effects for additional shirts. The more water you add later, the lighter the colors will be on the shirt. A cool effect I’m now aware of for future shirts! You can also add your own decorations, including phrases inside your hearts, using the Tulip brand of markers also available at Joann. See more on this technique in action on my instagram.

The girls were psyched on how well the tie dye heart patterns came out for their t-shirts! I think this tie dye look would look so fun as a bathing suit cover up for summer!

Thanks to Joann I can now say I’ve done tie dye! I have lots of leftover tie dye from this kit so I’m pretty sure this isn’t the last you’ll see of this craft type from me!
If you end up giving this heart tie dye pattern a try, tag me as I’d love to see how it came out!


Leave a Reply