You may remember this post all about how I made the floral hairpiece for my wedding:
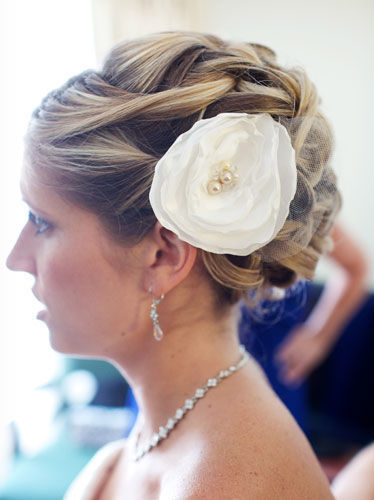
I love that floral piece but don’t think I’ll find too many places to be wearing it any time soon. Instead, I decided to take that concept and make another crafty piece that I could wear more often!

I’m loving the skinny belt trend these days and have been seeing lots of floral belt pieces so I decided to merge the two by making my own removable floral belt slipcover. I chose the slipcover concept so I could easily remove and add it to one of the many colored skinny belts I own.

Supplies:
- Fabrics: Satin, Tulle and Cotton Print
- Tools: Scissors, Ruler, Pencil
- Needle & Thread
- Candle & Match
- Beads (optional)

The first thing I did was create the slipcover piece from an 8 x 2″ piece of cotton fabric.

I folded the piece in half and pinned it together, making the tube formed was larger than the width of a belt. After drawing a line for guidance, I went ahead and hand sewed this piece (of course a sewing machine would make it much faster). After sewn, I slowly turned the piece inside out to reveal the completed tube shaped slipcover base.

Next, I followed the same process as the hairpiece tutorial by drawing lots of circles on the satin fabric then putting it near a candle’s flame to make the edges curl. I also cut some circular pieces of tulle to be used as accent pieces when layering my flowers.

I went for a design with one large flower in the center and two smaller ones on the side. Sew on beads or accents of your choice to complete the flower designs.

Lastly, sew your flowers onto the slipcover, making sure to only attach it to one side of the tube to allow a belt to still slip through.

Now I’m able to easily add the slipcover onto different belts to go with any of my looks! Here’s how I wore it a few weeks ago, when I was 26 weeks along, with my Liz Lange Target Maternity Dress (found on sale for only $9) and my DIY Wood Bead Necklace.


Making that a slipcover is such a great idea! Now you won’t be limiting yourself to just one floral belt!