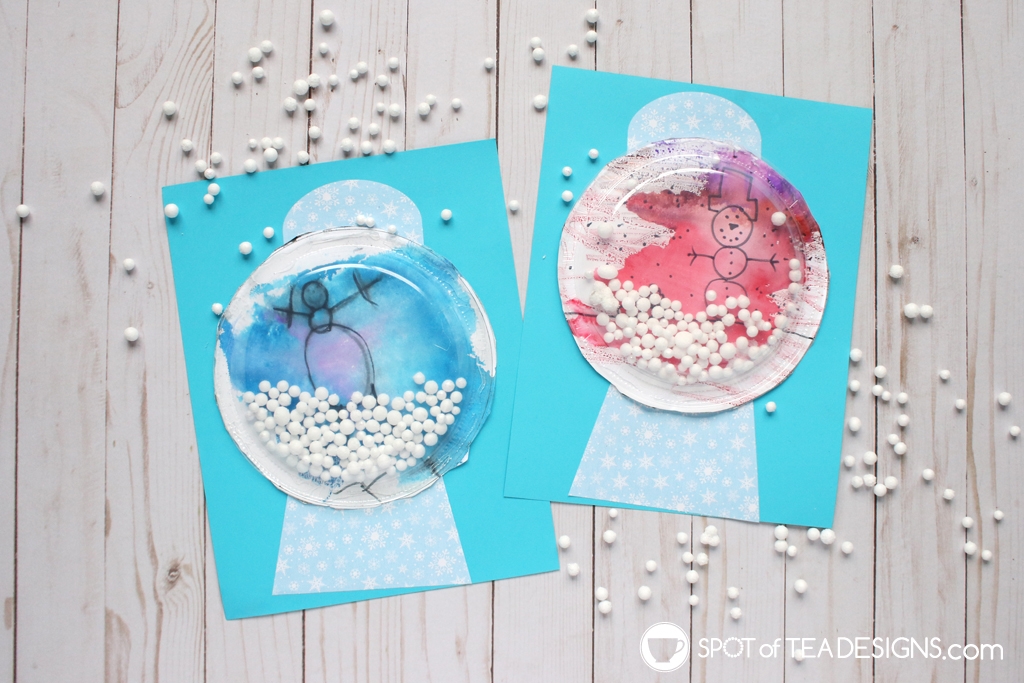
Winter usually involves lots of indoor time. Make good use of the time inside and get crafting! This winter snow globe kids craft mixes a few basic skills, like cutting and gluing, while building illustration and watercolor painting skills. See how to recreate this craft at home or even in the classroom this winter!

This past December, I volunteered to do the craft for Brielle’s first grade class of 23 kids. I have seen this technique using markers on a plastic bag to create a faux watercolor look so I’d been dying to try it out. This was a great opportunity to get colorful and give this technique a try with the kids!

Supplies:
- Small clear plates (found at Dollar Tree)
- Cardstock – white and blue (both with predrawn circles)
- Patterned paper (grab the free SVG for the snow globe top and bottom)
- Markers
- Glue stick
- Scissors
- Fake snow
- Spray bottle
- Hot Glue (I made a hot glue station manned by moms for the party)
To start, each kid was passed out a plastic bag with the snow globe top and bottom precut shapes inside, plus a piece of white and blue cardstock with the circle already drawn on each. (I traced the clear plastic plate as a guide)

They removed the snow globe top and bottom and set them aside. I showed the kids how to choose any three colors (which are not black) to color on the plastic bag. Not to draw, but to rub the marker to color the bag. Then they passed around this spray bottle and gave 2 quick pumps on the bag. They then flipped over their white cardstock piece with the circle arleady drawn and rubbed it on the bag to transfer the wet marker onto the paper. This created the faux watercolor background.

While that was set aside to dry, I had the kids glue the snow globe top and bottom onto their blue paper. I had pre-drawn the circle (a smaller circle than the plate) so they knew where to place the pieces. Tip: I realized the circle needed to be slightly higher than the center to fit the larger snow globe bottom, so I drew a letter “A” in the center of the circle (not shown above) so they knew which direction to lay the paper before gluing on the pieces.

They then went back to their white circle, cutting it out and illustrated a design. I made winter scene suggestions, like a snowman, their house, or their family, but many got creative all on their own!

Next, we had a hot glue station set up in the back where the kids could scoop some fake snow on the clear plate and then moms were there to hot glue the clear plate to their white illustrated design. I kick myself for not taking a shot of them all assembled but look how colorful and creative this step was!

There was a bit of a hold up in that hot glue station so we ended up having the kids leave their illustration designs on the table and I hot glued the rest quickly while they went onto the next game since it was a class party. When they had a chance, they came back to find theirs and adhered it to their blue paper with a glue stick.

Everyone got to bring home a snow globe craft that had an interactive element of falling snow when you gave it a shake!

These two samples were created by Hailey at home, and Brielle in class, showing that kids as young as 4 can do this fun interactive kids craft!


Leave a Reply